
Getting to grips with stick welder settings will go a long way toward improving your welding quality and durability. Electrode selection and amperage settings are essential limiting factors that any welder, whether an expert or an amateur, needs to consider when setting out to accomplish a job. This guide takes a detour from the technical sense and will enable you to achieve cleaner, stronger, and more efficient welds. From learning the basics of selecting electrodes dependent on your materials to perfecting the amperage, we will guide you hand-in-hand and outline some valuable tips and tricks to improve your welding. Get ready to dive into aspects that intertwine tools and techniques, thereby making stick welding an amalgamation of hard science and art.
Understanding Stick Welding Fundamentals
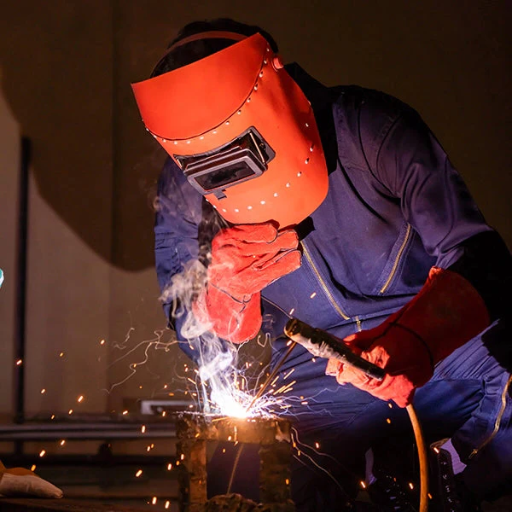
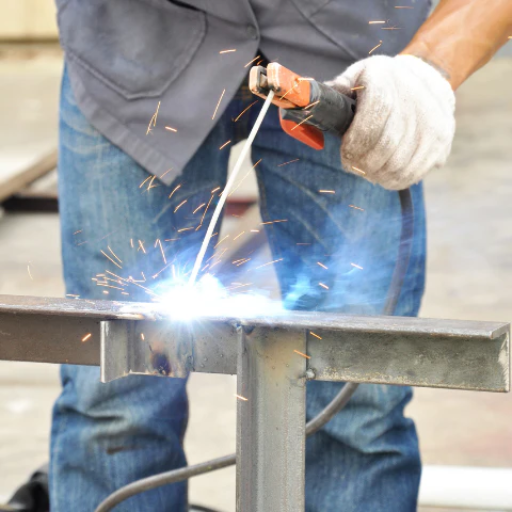
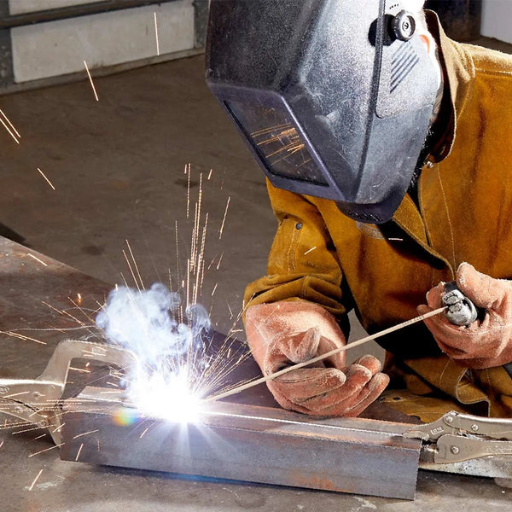
Stick welding, also known as SMAW, is one of the most versatile and accessible types of welding, and remains a favorite among professionals and hobbyists. The application of stick-welding basics is essential for achieving strong and dependable welds, whether for repairing heavy machinery, fabricating metal structures, or undertaking any DIY project. This article covers critical aspects of stick welding to bring a worker to a level of competence, enabling them to undertake any project with confidence. From the arc welding process to selecting electrodes and adjusting the correct settings, the article will provide you with practical knowledge to refine your skills and achieve consistent results.
What is Stick Welding?
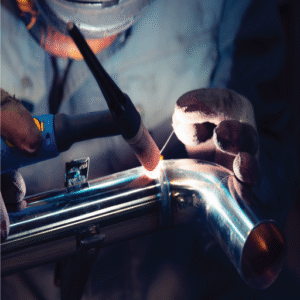
Stick welding, also known as Shielded Metal Arc Welding (SMAW), is an arc welding process that utilizes a flux-coated consumable electrode to join metal pieces. The electric current produces an arc between the electrode and the workpiece, and this arc generates intense heat that is sufficient to melt both the electrode and the base metal, creating a weld.
The flux coating on the electrode produces gases and slag to insulate the weld against atmospheric contamination, thereby maintaining its integrity. Due to its versatility, simplicity, and ability to operate in challenging environments, stick welding has found wide applications across various industries. The low cost and ability to weld a wide range of ferrous and non-ferrous metals have made this technique very popular elsewhere as well.
How Stick Welders Operate
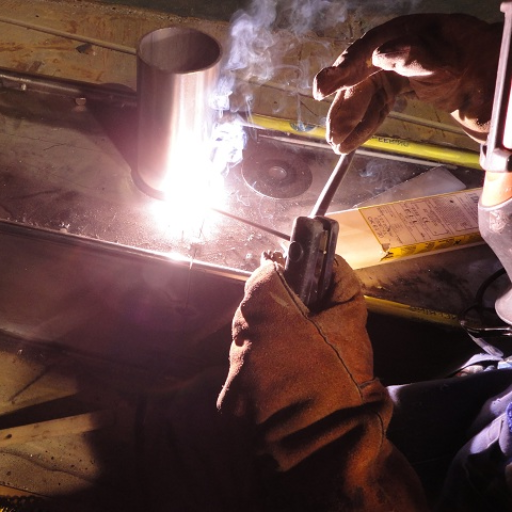
Stick welding uses a power supply, an electrode holder, a ground clamp, and a consumable electrode to do the welding. First, the electrode holder clamps onto the electrode, which is connected to the power supply. Next, a ground clamp is fitted on the workpiece or metal being welded to complete the electric circuit. When the electrode touches the workpiece, an arc is struck between them. This arc generates intense heat, reaching temperatures as high as 9,000°F, which melts both the tip of the electrode and the base metal.
Molten electrode materials serve as filler embedded in the weld pool, while the flux coating on the electrode disintegrates into gases and slag. The gaseous shield protects the molten weld pool from atmospheric elements, such as oxygen and moisture, that could compromise the weld’s integrity. The slag then solidifies and requires chipping once it cools off.
Stick welders are highly versatile. They can work on DC or AC. Hence, stick welders are versatile and can be employed for a wide range of applications and materials. Thanks to their simplicity and rugged operational performance in any environment, stick welders are acknowledged for their reliability in diverse industry sectors.
Why Choose Stick Welding?
A stick welding-type seal is the best choice because it provides versatility for outdoor situations, as well as for the processor of price watchers and the worker in such environments. It can weld in a windy climate, with very few welds whose weld quality will be affected by the winds or less controlled environments.
The welding process consists of various metals and alloys, including steel, stainless steel, and cast iron. Repair, construction, and fabrication often involve the widespread use of welding operations. The simple equipment required for the welding setup makes it portable, thanks to reduced setup time, which means lower expenses and greater accessibility for both beginners and professionals.
The welding process is pertinent to imparting strength and durability to welding processes used in industries such as construction, repair, and agriculture.
Recommended Amperage Settings for Various Materials

Achieving optimal results in stick welding depends on correctly setting the amperage to suit the specific material being welded. Some general guidelines are:
Important Note: Consider other factors, such as electrode type, thickness, and position, when determining the exact amperage. A stabilization of the arc may be required, along with some adjustments to its penetration.
Optimal Stick Welding Settings for Steel
Welding-by-stick amperage settings should be as close as possible to the chosen thickness of the material and its type. Use the following parameters as a guideline:
Light Steel (up to 1/8 inch)
Set the current from 40 to 90 A. The lower current will avoid burning through the material.
Heavy Steel (above 1/8 inch)
Select currents between 90 and 160 A. These currents produce greater penetration, forming stronger welds.
Select an electrode compatible with the steel material being welded, and check for the correct polarity for the electrode in use. An excellent practice is to test the setting with scrap material before proceeding with the final piece for a better result.
Adjusting Amperage for Aluminum Welding
Aluminum welders should set the proper amp value, considering aluminum’s high conductivity and its lower melting point compared to steel. Low amp values of 30 to 60 are selected for use with fragile aluminum sheets, typically under 1/8 inch thick.
For thick pieces, over 1/8 inch, adjust the amperage in the 80-200 range, based on the precise thickness and type of aluminum alloy. In TIG welding settings, using AC should be met with alternating current. The angle of tungsten also influences the arc’s stability and the cleaning of the oxide layer.
The best way to ensure that the amperage is set correctly for the project is to make a few test welds on scraps before attempting the final one.
Specific Settings for Cast Iron Stick Welding
Due to the brittle nature and high carbon content of cast iron, welding must be undertaken with care. To weld cast iron properly, use the correct electrode type: nickel-based electrodes (usually ENi-CI) or ferro-nickel electrodes, depending on the particular application.
Setting the amperage must follow the range of the electrode diameter, as usually suggested by the electrode manufacturer. Often, the cast iron needs to be preheated to a temperature between 500°F and 1200°F (260°C and 650°C) to prevent thermal shock and cracking.
Application of a short bead length and slow cooling are equally essential to preserve the integrity of the material. Peening of the weld while it is still warm can also release stress.
It is essential to clean the workpiece thoroughly and weld it using multiple short passes, rather than a single continuous weld, to prevent the formation of brittle welds. Before performing the actual weld, verify your settings and technique by experimenting on a similar scrap piece.
Adjusting Your Welder for Best Results
Adjusting your welder properly will yield the best outcome; therefore, selecting the accurate voltage, amperage, and wire speed for the material’s thickness and type is crucial. Refer to the manual, look up the recommended settings, and test on a scrap piece of material, adjusting as needed. Your shielding gas should be set up correctly, and you should maintain a welding technique to achieve clean, strong welds.
Understanding Electrode Size and Type
Regarding electrode size and type, it depends on the workpiece and the welding process. Larger rods are used for thick materials because they provide greater penetration and faster deposition. Smaller rods are used for thin materials or delicate welding where control is essential.
The type of electrode can vary depending on the coating, composition, or purpose; for instance, some electrodes are all-purpose, while others are specifically designed for welding stainless steel. Proper usage of an electrode is specified in the manufacturer’s instructions to ensure the weld is of top quality and performance is at its best.
Setting the Correct Polarity
Referring to the correct polarity is crucial to achieve a strong weld throughout its entire length. Polarity refers to the direction of current flow through the welding circuit, and it is typically either direct current electrode positive (DCEP) or direct current electrode negative (DCEN).
If the electrodes are made positive in polarity, lengthy penetration is beneficial under these conditions, and thick materials are used beyond. Alternatively, if the electrodes are negative in polarity, increased deposition rates are focused upon, and thin materials, along with higher welding speed, are used.
Always check the welding machine’s manual for polarity selection and consult the electrode manufacturers for their recommendations for the intended applications.
Finding the Right Amp Setting for Metal Thickness
The amperage primarily depends on the thickness of the metal being worked on and the type of electrode. Using a smaller amperage is often required for thinner materials to prevent the metal from being burned through. For example, welding sheet metal typically requires an amperage between 20 and 50.
One of the most critical factors is setting the correct amperage: higher amperage is required to weld thicker metals. For instance, a 1/4-inch steel plate will likely require a setting of 120-200 amps.
The most important thing is to check the electrode package for the recommended amperage range and perform test welds to adjust the current to what works best. Once the correct amperage is chosen, technique, including proper speed and consistent travel, is essential to making the weld clean and strong without burning through or welding surface penetration.
Troubleshooting Common Stick Welding Issues
Start with the arc length in troubleshooting stick welding. For a proper stick welding process, the electrode-to-workpiece distance must be maintained at a constant value. Excess spatter or a weak arc may indicate that the amperage setting is either higher or lower than the recommended setting for the given material thickness and electrode. If the weld bead is irregular and porous, there may be moisture contamination; verify that the electrodes are stored correctly. Also, keep surfaces clean; rust, oil, and paint can destabilize the arc and reduce weld quality. Inspect your equipment for faults, beginning with the cables and electrode holders.
Addressing Poor Arc Starts
Bad arcs can start due to incorrect settings on the machine, improper electrode selection, or contaminated materials. To further improve the arc start, ensure the welding machine’s amperage setting matches the electrode’s required amperage for the material thickness.
Also, ensure that your electrode is clean, dry, and undamaged before use. Prepare the work surface thoroughly; ensure it is free of rust, oil, paint, and debris that may otherwise interfere with electrical conductivity.
Quick inspection of connections and cables for the welders will definitely contribute to the security of the connections as well as the lack of wear and tear. All these measures should help to secure a stable and consistent arc from the start.
Solutions for Excessive Spatter
Several factors may cause excessive spatter, but there are certainly ways to reduce it. Setting voltage and amperage are first on the list, and they should always correspond to the recommended setting for your material and electrode.
The use of a correct shielding gas and the proper gas flow rate is also essential, because poor shielding is often a significant cause of spatter. Another factor to consider is checking the electrode stick-out; an unstable arc can be generated if it is either too short or too long.
Cleaning a base metal before welding is also critical to remove all contaminants that can contribute to spatter formation.
If your spatter problem persists after this, consider trying electrodes of different types or sizes, as some electrodes tend to spatter more than others. By implementing these recommendations, one can weld more safely with less spatter on the weld.
Preventing and Fixing Cracking
To prevent cracking, control the cooling rate carefully and preheat thicker materials as needed. I ensure that I use the proper filler material and avoid overwelding to minimize residual stress. If cracks are present, I will assess the area, remove the compromised welds, and re-weld according to proper procedures to ensure the area is structurally sound.
Advanced Techniques for Experienced Welders
1. Mastering Weld Positioning
It is in polishing the skills above, out-of-position welding, that welders excel. Vertical and overhead welding, for example, require unwavering hand control and precise heat input management, along with practice, to produce a sound weld.
2. Advanced Joint Configurations
In complex applications such as T-joint, edge joint, or pipe welding, experienced welders require expertise in selecting the appropriate welding processes and positioning techniques. Technicians could rely on advanced equipment, such as rotary fixtures with preset weld parameters, to achieve a high-quality weld.
3. Utilizing Modern Technology
Use of advanced welding equipment, such as pulse welders or automated welders, can increase efficiency and quality. Knowledge of these technologies enables experienced welders to take on substantially larger and more complex projects without difficulty.
Improving Weld Penetration
Ensure good penetration by applying the correct heat, which involves selecting the necessary amperage and voltage based on the material thickness. Maintain a consistent speed while welding to prevent overheating or under-fusion.
Use the proper electrode or filler material, checking its compatibility with the base metal. The joint preparation also matters and includes cleaning the surfaces and applying the correct gap.
Furthermore, adjusting the angle and position of the welding torch can help enhance penetration depth and uniformity.
Achieving Cleaner Finishes
One thing I consistently do to achieve cleaner finishes is to maintain proper shielding gas coverage, thereby avoiding contamination while ensuring weld quality remains constant. I also keep the cleanliness of the base material before commencing, using the correct welding technique for the particular joint. Furthermore, I ensure that my equipment is in good condition, and I adjust it accordingly when necessary to minimize spatter and achieve a smooth, polished finish.
Regular Equipment Maintenance for Consistent Performance
When it comes to equipment maintenance, its core aim is to ensure the consistency of performance and extend the operational life of welding tools. Any inspection will help prevent wear and tear on loose connections and the risk of equipment failure.
The cleanliness of parts, such as nozzles, tips, and liners, should be maintained to prevent dirt from compromising efficacy. In the same vein, one should also calibrate tools according to the manufacturer’s instructions for smooth operation and optimal results.
Time invested in maintenance pays off not just in welding output but also in enhancing safety, as there are fewer possibilities of unexpected failures.
Frequently Asked Questions (FAQs)
Reference Sources
-
Arc Captain: Stick Welder Settings Chart: Amperage & Electrodes – A detailed guide on stick welder settings, including amps, electrodes, and metal types.
-
Baker’s Gas: Finding the Right Amperage: A Guide for Stick Welders – A comprehensive guide to selecting the right amperage for stick welding.
-
Hobart Brothers: Learn the Basics of Welding: 7018 Welding Rod Amperage – Technical insights into using E7018 electrodes and their amperage settings.
- Top Welding Positioner Manufacturers and Supplier in China
- Guide for Types of Welding


